Mixed Media Artist

I work primarily in acrylics and collage.I use collage and beewax in my assemblage works and am now completing several shrines using found objects. I have been experimenting with encaustic collage and have found the medium very challenging. The paint is a combination of melted beeswax and pigment. A small amount of damar resin is added for hardness. I mix these paints myself and while painting all custom colors are mixed directly on a hot palette.
I will share my progress with this exciting medium with photos of work in progress and finished pieces.

Monday, September 6, 2010

Monoprinting with Wax


Here is an encaustic monoprint I did today. I am not finished with it yet, I want to do more drawing and incising but I was so pleased with these brilliant colors I had to take photos of them. Mind you I did not do this the traditional way with a hot palette. I just used my pancake griddle and melted the wax directly on it. Then I laid my sheet of 140 lb watercolor paper on top and it picked up some of the color. I had to repeat this about 5 or 6 times to get enough wax on it. I am not sure how it is to be framed as encaustic usually is not put under glass. I will have to investigate.  Look at the color in these details!


I really like the way the white line shows up. I used a
heated stylus with a calligraphy tip.


Metallic wax was used in this detail in the stylus.


Saturday, September 4, 2010

Tranquility


These Asian inspired boxes are really fun to make and are the first assemblages I started making in the
 early years. Although  "Tranquility" is a fairly recent one. I used vintage milk paint on this box, I had painted usually paint them with acrylics or spray enamel. The boxes come from a variety of places. This one is just a simple, shallow cigar box. I am always on the lookout for an unusual wooden box to alter. One of my favorite finds was a 1950's children's wooden tool box from ebay. It had so many neat holes, pullouts and drawers, I really had fun with that one and will be posting it in the future. One of the things I enjoy about doing these is the process of making them look ancient.  I was thrilled with the crackle medium I used on the top, it made so many fine little cracks. I then rubbed brown shoe polish into the cracks. The resulting patina was amazing and looked very old.


I have painted all of the inside of the box with 4 or 5 layers milk paint. The milk paint is mixed very thick ( like buttermilk) and sanded well between each coat. Then the collage papers are added. More paint and more collage, drawing and distressing. The final objects are added and colored beeswax is dripped in selected spots.


An old coin I aged placed on a hand made clay disc.


This detail shows a paper wrapped candle on the interior.


Friday, September 3, 2010

A Field Trip with Mama


This is what is so special about living here  in the Smoky Mountains. Today I casually glanced out my sunroom
window and was greeted by these charming visitors to my yard.  I have been experimenting with taking photos of my artwork with my new camera so it was handy. I grabbed it and pulled out the zoom and here is what I got. I know I usually put up artwork but isn't this a marvelous change. They are licking what is left of last winters salt lick, and basically it it just the leftover residue that has crystalized on the stump. We put one out every year at the beginning of winter. There are several types available and the one we like best is a natural salt rock and contains all the minerals.
At first I didn't see the second fawn, his spots act as such a great disguise. I have watched before and the little ones are so full of mischief they run circles around poor mama. It is quite comical to watch, you can just hear her saying,"Settle down and leave me alone or we'll have Time Out"


After about 15 minutes they had their fill and quietly left. I love this photo of them through the trees.
I wish I could have gotten closer but if I had made the slightest move they would have ran, they are very skittish and can even see me if I am in the house and move.


Wednesday, September 1, 2010

Evolved Landscape


This encaustic painting is 8 X 8 and is painted on a cradled board. A cradle is like a box and it enables the artist to utilize the sides of a painting as well as it's surface. They are quite a bit more expensive to buy but they are a stand alone piece and do not have to be framed. The workmanship on the corners and  back is excellent, so it is worth the price. These are made by the Ampersand company and claybord is the one used for encaustic painting. Here is a close up of the sides. I have painted mine with acrylics as the wax might not be as durable here. But they are finished edges and can be left unpainted.


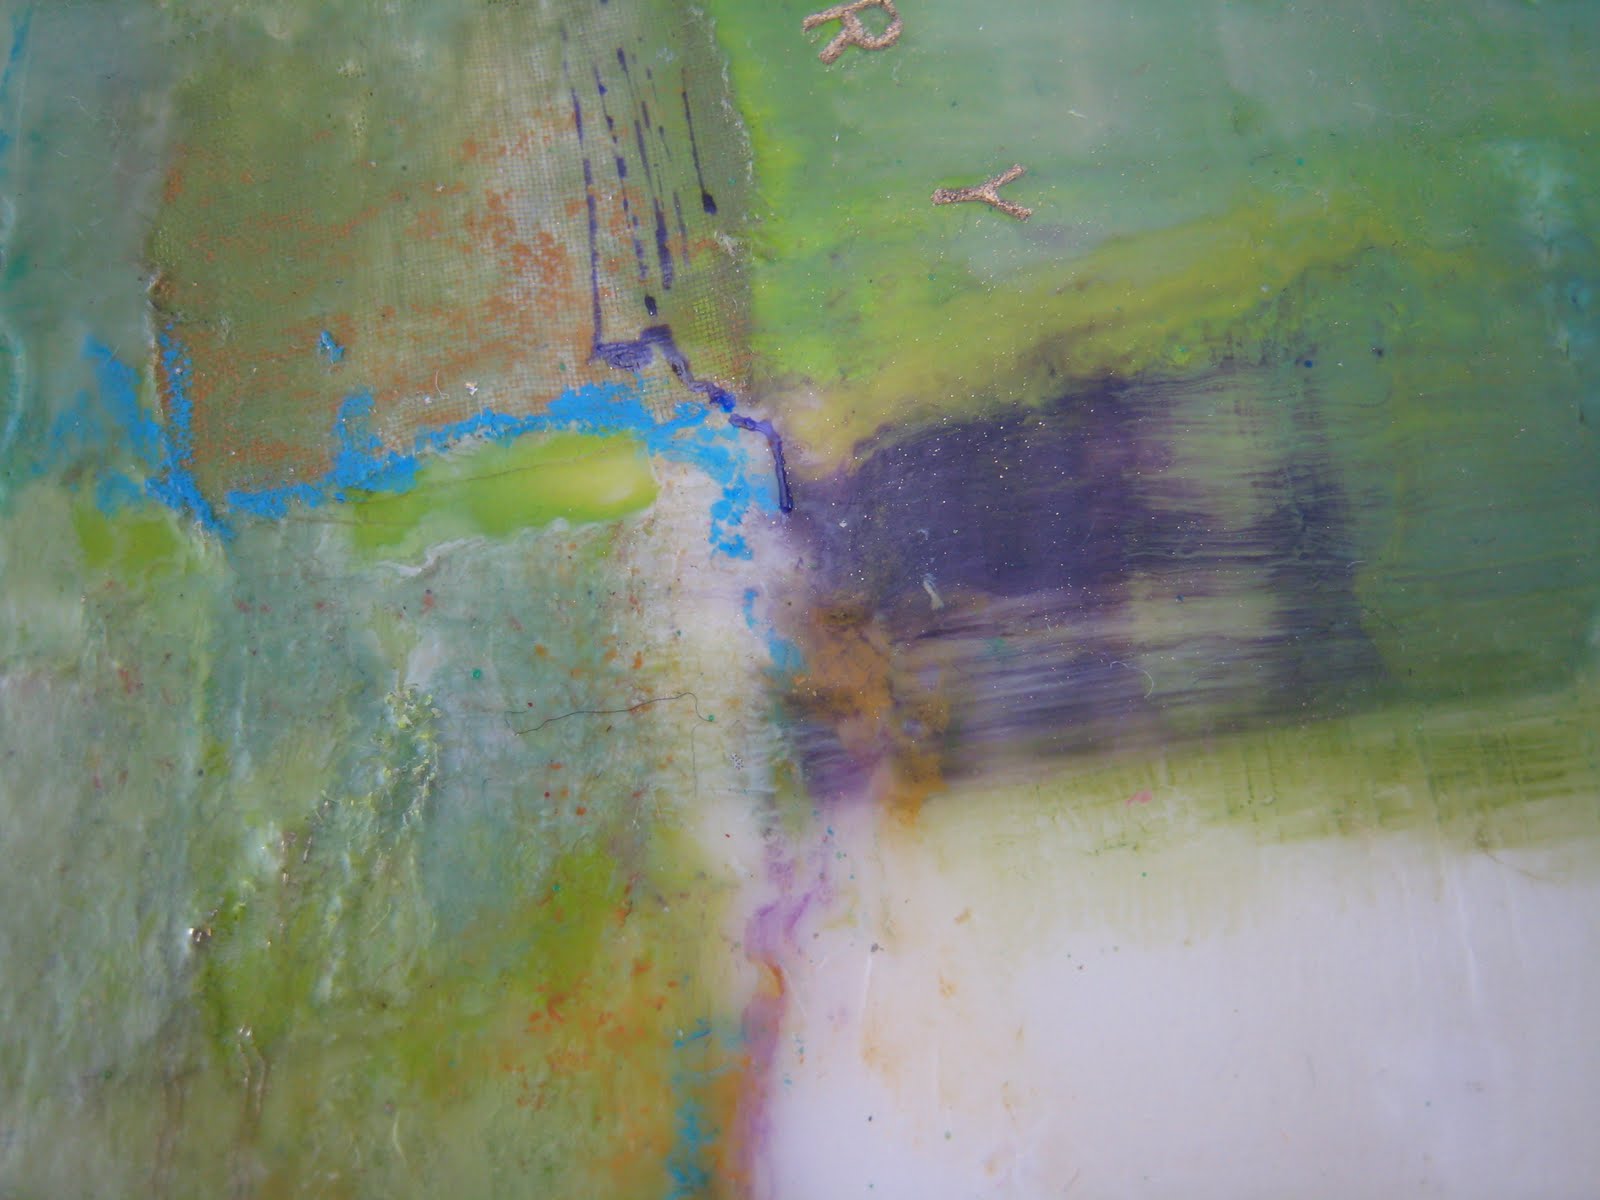
I have collaged silk organza, that I have hand painted and drawn lines on, to the surface. I've been experimenting with ways to do delicate lines on the wax. I am pleased with this method.

This view shows the lines in the purple ink. The other lines are turquoise blue oil pastels and are applied directly to the wax and then covered with a coat of medium. But they are thicker and not as detailed. 


This detail of the surface shows a close up of the oil pastel and the collaged piece of organza in the upper portion. The small letters also at the top are metal stamps pressed into the wax and filled with a metallic gold paint stick.


This detail shot shows the rectangle of organza with the line drawn. Collage is a good way to achieve a crisp sharp line on the surface of the wax.  Since the organza was painted first and had color it gives a subtle shading over the color it was collaged to.


Saturday, August 28, 2010

Pouring the Wax On

This is another painting trying out more new techniques. I taped the sides of my board with masking tape to form a barrier all around the piece. It stuck up about an inch from the surface, and the first layer of clear encaustic medium was poured on. After cooling it slightlty I embedded painted raffia ribbon mesh in spots. Then poured on another thin layer of clear encaustic medium. At this point there was no color added. I began using colored wax and oil pastels (the red scribbles) to layout the design. The buterfly image is a laser copy I cut out and collaged on with a coat of clear on top. The next layer has the black shapes transfered on the surface and a thin layer of clear painted over. The beautiful white lacy efferct is the shellac application, this time painted very thinly, and lightly hit with the torch. The final layer is applied 24 hours later over the shellac to set it. I tinted clear shellac with white oil paint to get the color. Amber shellac can be used as is out of the can and gives the burnt sienna look as shown im my previous post,"The Day the Winds Came"  I am really pleased with the white lacy look of the shellac and the way it brings the elements together. I will definitely try other colors and methods of application. I like the oil pastel drawing as well and want to do more of that. But I don't know about the pouring, it was a lot of work to keep it level and I don't see where it made much of a difference in the finished product.

Thursday, August 26, 2010

Here Comes The Sun


"Here Comes The Sun"
This painting is also 6" x 8" and painted on a masonite board. I wanted to collage natural plant material into the wax. I used tall blades of fresh green grass, and over a short period of time they turned tan in color. I tried painting them with green wax and it gave them such an unnatural look I removed it. I left the bottom  part of the thinnest blade green. I also tried a sheer green organdy fabric with metallic gold threads running through it. They were cut in blade shapes to simulate more grass. I splattered white tissue paper with watercolor paint in various collors of burnt sienna and collaged those on top of the fabric. In the lower left I inked a rubber stamp I carved with black ink and it made an excellent reproduction on the surface. I can see where this will be a very  useful technique. The look of the fabric through the wax came out nicely and I will try more ezperiments with that, but I'm not extremely pleased with the dried plant material so the jury is still out on that one.

Wednesday, August 25, 2010

Experiments in Encaustic

"Perfect Specimens"
Here is one of my latest encaustic pieces. It is painted on a small 6" X 8" masonite board.. Because masonite is not porous, the surface must first be covered with paper. The paper acts as a primer to absorb the first layer of wax.
I collaged a vintage book page as the first layer. Old books work best, as the paper is dull and very absorptive. Glossy books and magazines do not work. Watercolor paper makes a nice surface if a white background is desired. The figures are drawn in with green wax thinned with encaustic medium to form a glaze-like paint. I used several layers in the areas I wanted to obscure the most. My next layer is a decorative napkin that I have cut the design from and collaged on top of the figures.
The line work is drawn into the wax with a sharp stylus and then filled with a soft black pigment stick. The wonderful insect is a lazer copy from one of my most favorite books, Cabinet of Natural Curiosities, which I transferred to the surface .
I discovered something neat when I went to buff this piece. There was a used swiffer sheet on my work table and I used it to polish the surface and wow, it worked great! Periodically these pieces need to be buffed to remove a white dusty look called bloom that happens to the beeswax over time. The colors and glassy surface the swiffer sheet gave them is truly amazing.