Mixed Media Artist

I work primarily in acrylics and collage.I use collage and beewax in my assemblage works and am now completing several shrines using found objects. I have been experimenting with encaustic collage and have found the medium very challenging. The paint is a combination of melted beeswax and pigment. A small amount of damar resin is added for hardness. I mix these paints myself and while painting all custom colors are mixed directly on a hot palette.
I will share my progress with this exciting medium with photos of work in progress and finished pieces.

Showing posts with label oil pastel. Show all posts

Friday, January 23, 2015

NEWEST OIL AND COLD WAX ARTWORK

Since my last post I have been busy working  on oil and wax paintings for a group show of regional artists at the Emporium Gallery. It is located on Gay Street in the historic art district in Knoxville. I love this open contemporary gallery, because it is full of light, and has abundant space for display. The opening was January 5th and will run through February 4th. The photos of my work did not come out as well as I would have liked, so I'll retake them, and then I will post the ones included in the exhibit. These are some new pieces I have done, and others that were not ready to include.

This series is all 12" x 12" cradled panels, 1 inch deep. The medium is traditional oil paints mixed with Dorland's Cold Wax Medium.


I used a palette knife to add the paint and after it dried to the touch I scratched through the paint with a sharp needle tool.


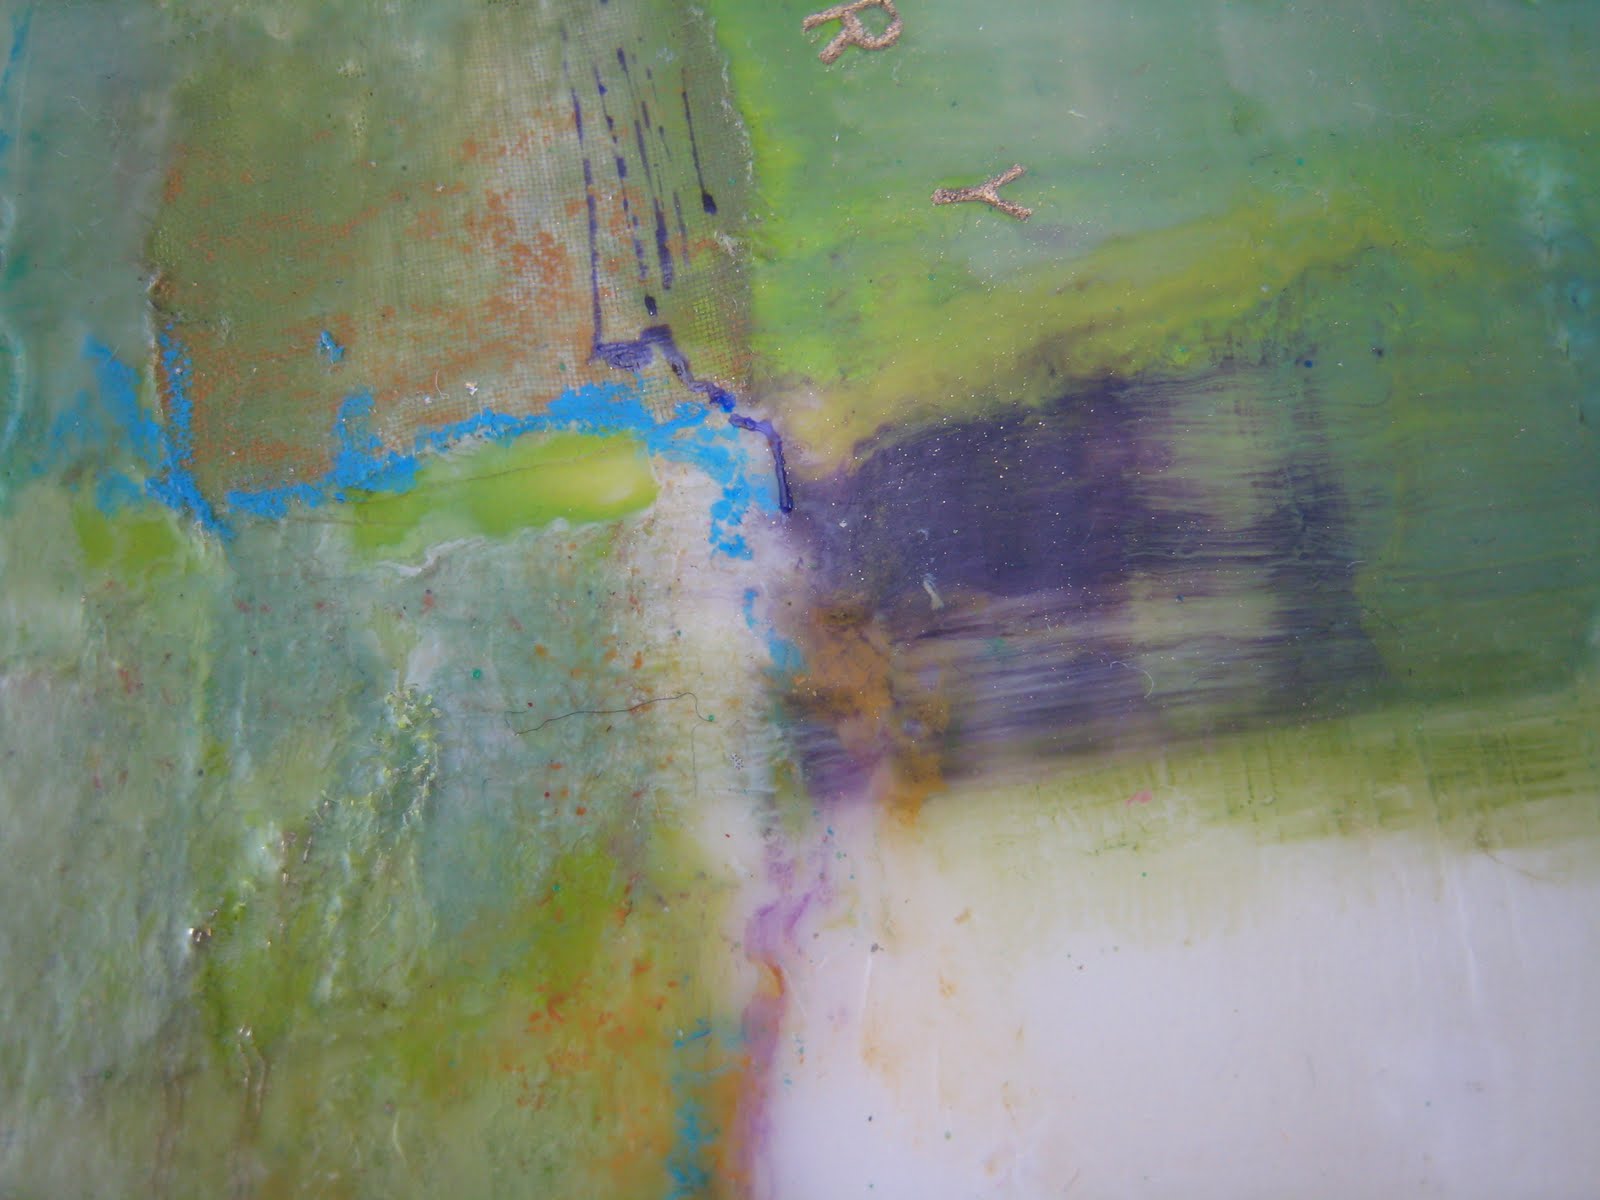
I used ink brayers and a 4' squeegee on this one, and scratched though to the various layers.


This is one of the Patera Series for the Emporium show, that was not ready. I had applied the paint very thick so it took a while to completely dry. Patera is a bowl or vessel used in ancient Rome for drinking or pouring.


This piece is painted on heavy 300 lb handmade watercolor paper with a deckle edge.  More paint is needed when painting on paper as the first layer gets absorbed, and the heavy texture of the paper leaves small white indentions where it is lower than the surface. The first coats were applied with a palette knife, then a brayer and squeegee. I did like the finished product very much and was able to scratch and remove paint in much the same way as on a wood panel.


Thursday, September 11, 2014

A New Road, and a new direction

Because I have been reintroduced to oil paint, through encaustic painting, and have been perusing any technique that uses oil paint, I have come upon something new that I must try.

Oil and Cold Wax, unlike encaustic wax is not heated, or melted and does not have to be fused between each layer. Although it does have to dry to the touch between layers. Basically oil paint is mixed with a wax medium with a palate knife to make the paint thicker and more textured.

A wonderful abstract artist that works in cold wax and one that I admire is Rebecca Crowell. Her site and blog oilandwax.ning.com has a wealth of information, and I highly recommend it if you are interested in learning about it.
I started right in and have done a few artworks to share. It is a very forgiving medium as you can paint over a painting a thousand times. Which for me is somewhat of an issue as I never know when a painting is finished. 


This is the very first attempt and I really like the vibrant colors. I didn't get as much texture as I wanted. I either need more layers or I let it dry too long (overnight) so the scratching didn't show up.


Cocoon
12" X 12"
.


This attempt has much more paint, and it really was fun to scribble on the surface. I pushed a piece of plastic mesh from a grocery bag of oranges into the surface in the upper left and middle right. It makes a very nice diamond texture. On the right side I pushed a gold oil pigment stick into the pattern when it was dry.


Falling
6"  X  6"
These 2 paintings have thin coatings of wax and oil, then I let them dry well, and went back into them with oil pigment sticks and turpentine. I am enjoying working with oil and Dorland's wax medium and I plan to keep experimenting and will share work as I go along. Both are painted on 12" X 12" cradled board.


Sunday, August 31, 2014

Olive Trees

Olive Trees
8" x 8"

This piece was inspired by a recent trip to Italy during harvest time.
There were so many beautiful fields of Olive Trees everywhere. They look, "oh so delicious", ripe and juicy, ready to be eaten. But don't eat one off the tree, they are not delicious at all. They are very bitter. Ha, ha ha,we learned the hard way.
The technique I used on this painting is called incising and each of those thin lines are made with a sharp needle tool, another clay tool, that works well in wax.
To make the line black, an oil stick in pushed into the recesses, let dry and buffed away.  Tube oil paint can also be used, but must be exposed to the air for several hours to thicken, then used.
This painting was donated to Arrowmont School of Art, in Gatlinburg for Auction. It's a beautiful campus here offering a wide variety of classes in all mediums.


Monday, October 15, 2012

Working in Wax

Looking at art has become an obsession with me lately and these encaustic pieces have caught my eye so I will share:


Semiotics
16" x 16"
Jann Gougeon


I find the composition in this work beautiful and the way she has juxtaposed the symbols a perfect contrast to the grid like background.


8" x 16"
Mary Philpot


For artists that love to draw, the beeswax medium works so well for detail. A sharp stylus, needle, nail or awl is used to incise the surface. Oil sticks or oil paint is then rubbed into the scratched surface. The result is amazing fine line work.


Not That Fragile
6" x 6"
Mary Black


Encaustic with collage always works for me. So much to look at and contemplate.


Dunkel
Mark Perlman


Another colorful approach to painting with beeswax. A very nice geometric design.


Wednesday, April 20, 2011

Getting A Little Fresh Air


My portable studio


Painting outdoors is great, as the lighting is fantastic and I don't have to worry about breathing any wax fumes.
There is an abundance of fresh, spring air for me to breathe.


My Inspiring View
Paper is a great porous surface to paint on when using wax. I am working on small 6x8 pieces of masonite with watercolor paper glued to the surface. The glue I use is white PVA and works very well, although care should be taken not to get any glue on the paper, since it is a plastic based adhesive. I press these under heavy books and wait 24 hours before painting.


I like to break up the surface of the white paper before I begin with the first layer of wax. I have used a shiva oil paint stick to draw lines. A sharpie marker, india ink or oil pastels also work well for drawing. It is important to remember not to use any acrylic paints or inks.


Under painting


On this one I have used watercolors to break up the surface with an under painting of color blocks. 


Imagery can be added after the wax has been applied as in the work above. The insect is a transfer I made with a toner copy. A thin layer of clear medium is brushed on the transfer.


I added these lines with a sharpie on top of the wax. A layer of clear encaustic medium is brushed over the surface, this will keep the marker from rubbing off. I love the way it always smears a little and softens the look of the line.


Monday, March 21, 2011

Back to Wax

In Process


oil sticks for drawing
Many brilliant colors to choose from. These are small blocks  of concentrated pigments suspended in encaustic medium.

The wax is heated to 250 degrees and becomes liquid. The thermometer sits directly on the heated palette so I can monitor it during painting.


The Paint


Warm and Ready


The Laboratory

Saturday, October 2, 2010

Back to the Sketchbook!

I have been busy working on my book, and it's a good thing as the deadline is fast approaching. January seemed like such a long way off but with the holidays in between it isn't. Because the pages in this book are not as paint friendly as the ones in my regular journals, it has taken me time to adjust my style of art journaling. I now glue or sew heavier paper or cardstock to the page and then begin.


My Little Corner


A glimpse into what's been happening on the inside:


more pages......


and more pages.....


Close detail of colored pencil drawing


Wednesday, September 1, 2010

Evolved Landscape


This encaustic painting is 8 X 8 and is painted on a cradled board. A cradle is like a box and it enables the artist to utilize the sides of a painting as well as it's surface. They are quite a bit more expensive to buy but they are a stand alone piece and do not have to be framed. The workmanship on the corners and  back is excellent, so it is worth the price. These are made by the Ampersand company and claybord is the one used for encaustic painting. Here is a close up of the sides. I have painted mine with acrylics as the wax might not be as durable here. But they are finished edges and can be left unpainted.


I have collaged silk organza, that I have hand painted and drawn lines on, to the surface. I've been experimenting with ways to do delicate lines on the wax. I am pleased with this method.

This view shows the lines in the purple ink. The other lines are turquoise blue oil pastels and are applied directly to the wax and then covered with a coat of medium. But they are thicker and not as detailed. 


This detail of the surface shows a close up of the oil pastel and the collaged piece of organza in the upper portion. The small letters also at the top are metal stamps pressed into the wax and filled with a metallic gold paint stick.


This detail shot shows the rectangle of organza with the line drawn. Collage is a good way to achieve a crisp sharp line on the surface of the wax.  Since the organza was painted first and had color it gives a subtle shading over the color it was collaged to.


Saturday, August 28, 2010

Pouring the Wax On

This is another painting trying out more new techniques. I taped the sides of my board with masking tape to form a barrier all around the piece. It stuck up about an inch from the surface, and the first layer of clear encaustic medium was poured on. After cooling it slightlty I embedded painted raffia ribbon mesh in spots. Then poured on another thin layer of clear encaustic medium. At this point there was no color added. I began using colored wax and oil pastels (the red scribbles) to layout the design. The buterfly image is a laser copy I cut out and collaged on with a coat of clear on top. The next layer has the black shapes transfered on the surface and a thin layer of clear painted over. The beautiful white lacy efferct is the shellac application, this time painted very thinly, and lightly hit with the torch. The final layer is applied 24 hours later over the shellac to set it. I tinted clear shellac with white oil paint to get the color. Amber shellac can be used as is out of the can and gives the burnt sienna look as shown im my previous post,"The Day the Winds Came"  I am really pleased with the white lacy look of the shellac and the way it brings the elements together. I will definitely try other colors and methods of application. I like the oil pastel drawing as well and want to do more of that. But I don't know about the pouring, it was a lot of work to keep it level and I don't see where it made much of a difference in the finished product.